
Sashiko is pretty easy in that it is done all with a running stitch, but can be complicated dependent on the complexity of the pattern. You can purchase sashiko kits online at places like the Purl Bee, but if you don't have the luxury of ordering things like this online like me you can try my method. Here is how I have adapted the techniques in the book to hand stitching. or in other words, here is Sashiko my way...

You will need:
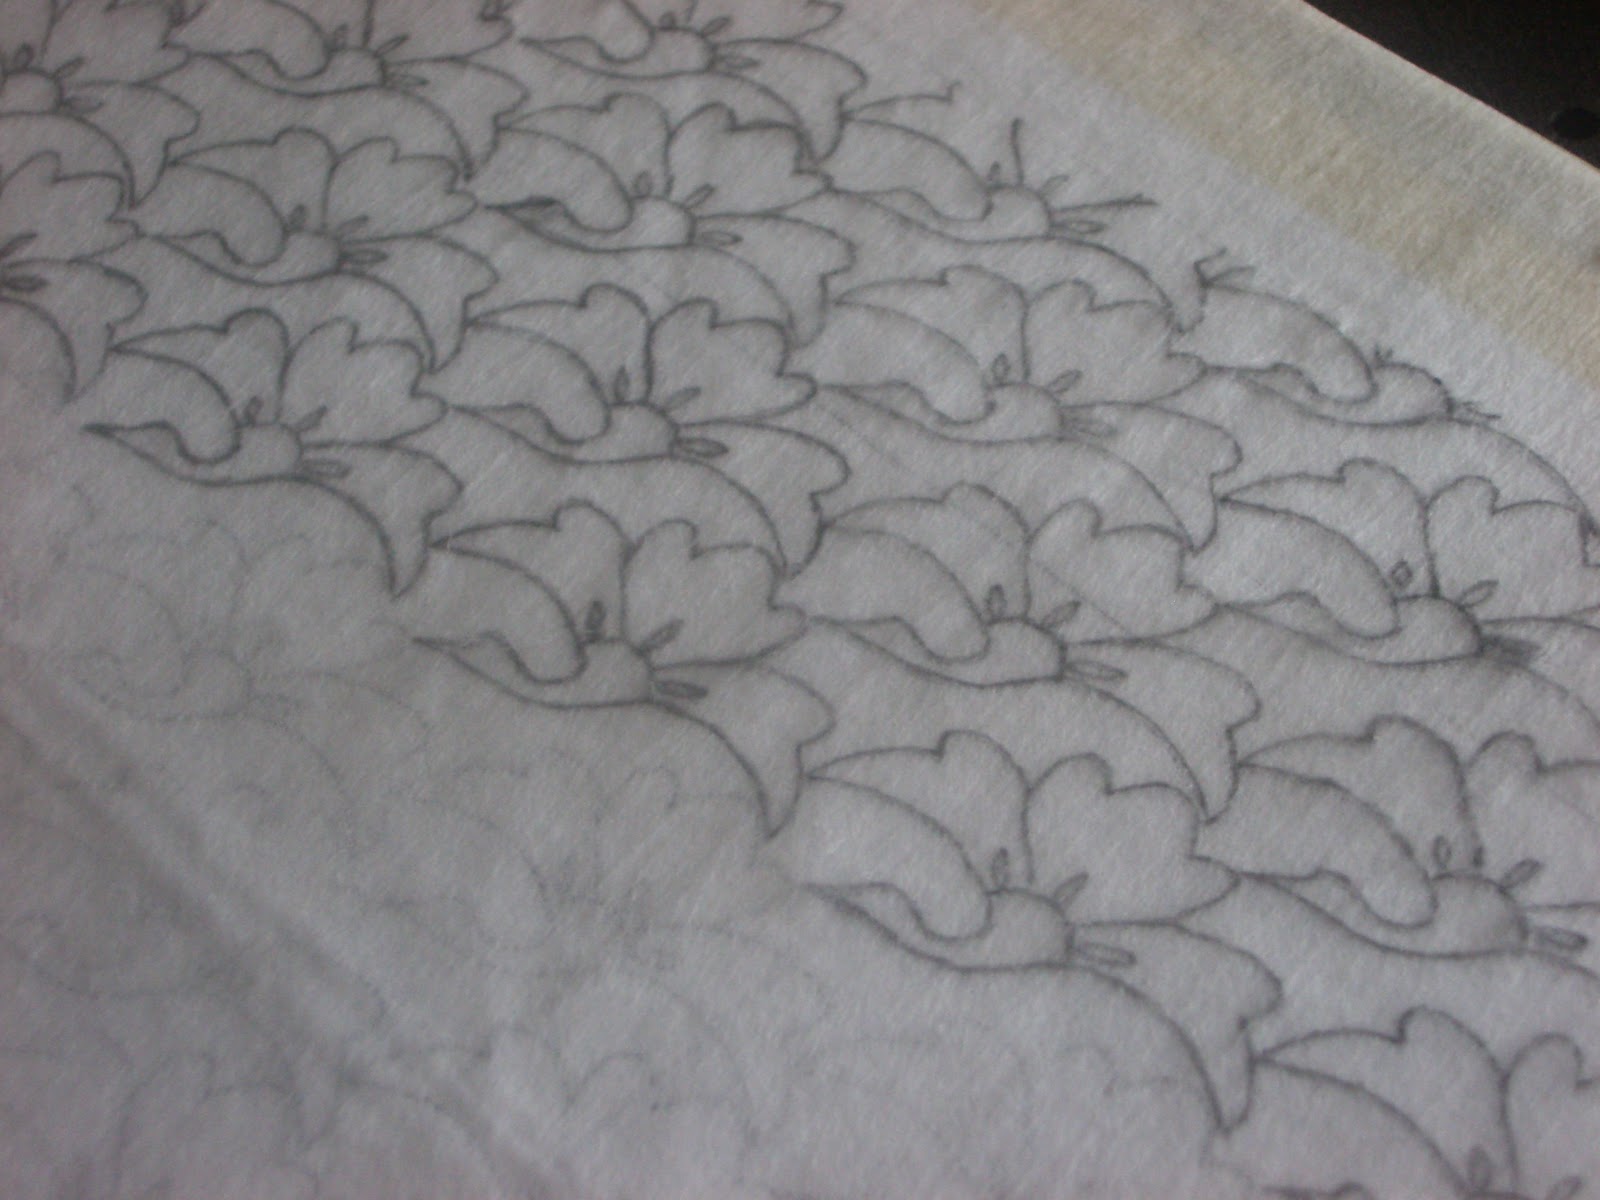
a copy of a sashiko pattern (in my case I copied it from the book)
a computer with photoshop or an image manipulation software and scanner
a comfortable chair
a sheet of at least 12" X 12" NON-fusible interfacing that is thin enough to see a pattern through
a piece of cotton fabric preferably solid but if not a very low key pattern such as black on navy
(cut to the size you will want later for what ever project you use it for, bear in mind that it may shrink up to at least 1/4" smaller due to stitching)
embroidery floss in the color of your choice, typically some thing to contrast with the fabric
graphite pencil
light box, or window with really good light
16-18" ruller
masking tape
thread (for basting)
a good embroidery needle with a larger eye
thimble
optional: an embroidery hoop

1. Dependent on the final size of embroidery piece you want you can use your photocopy if you want to practice or you may scan in and layer duplicates of the pattern until you attain the size you want. I wanted it to be printed on 11"X14" so I took it to a copy center to print.

2. Tape your printed pattern onto you light box, or window. (I just happened to be borrowing an overhead projector from my church library, so I used that). Then center and tape your interfacing square over the pattern.


4. Once your pattern is traced, carefully take the tape off of your interfacing. Position (in my case, center) your interfacing trace side up to the wrong side of your fabric, and bast in place. I usually do an "x" or cross through the pattern itself and then go around it. If you are using an embroidery hoop go ahead and set that up.

5. Separate out 4 strands from your floss, and thread your needle. Take a moment here and look at the pattern to see if you can find an easy pattern to go across in rows whether they are straight or diagonal, this really helps you get a rhythm and keep your work neat. Note: I personally found it too hard to get even stitches with an embroidery hoop so I just don't use one. Insert your needle and pickup one stitch on the interfacing side keeping you knot on top. You want to stitch all of you connecting stitches and knots on the interfacing side so that you end up with a perfectly stitched pattern on the right side of the fabric.
 |
| running stitch |
6. Typically stitches are done from 2 - 5 at a time, this allows you to follow a line on the pattern more smoothly and helps to keep all you stitches pointing the same direction. Remember it is just a running stitch so you can pick more than one up at a time pretty easily. Don't worry if you have to do tight areas one stitch at a time. Continue on in the pattern.

7. Once you have finished, (and don't forget to stitch that box around the outside that you traced) take out your basting stitches and press your embroidered fabric with the interfacing side on the board away form the iron. This helps to smooth out and block the fabric so you can get a true measurement of the fabric block for what ever project you intend to use it for.

I hope you find this as fun as I have. (I hope that my Japanese friend likes these pillows for wedding presents tomorrow.) Anyway, happy Wednesday everyone!
~Fraise

No comments:
Post a Comment